How to take 360° photos for a virtual tour
Where to stand, how high to put the camera, how to light the room and stay out of the shot: the habits that make 360° photos work in a virtual tour.
By Ben Kenyon, Founder of PanoramrUpdated 3 min read
In short
Take one 360° photo for each place a visitor would stand, with the camera on a tripod near the middle of the room, at about eye height and level, at least a metre from furniture and walls. Turn the lights on, open the blinds, tidy up, use the camera’s photo and HDR modes, and press the shutter from its phone app so you are out of sight. Then export each photo as an equirectangular JPEG, twice as wide as it is tall.
How a 360° camera sees a room
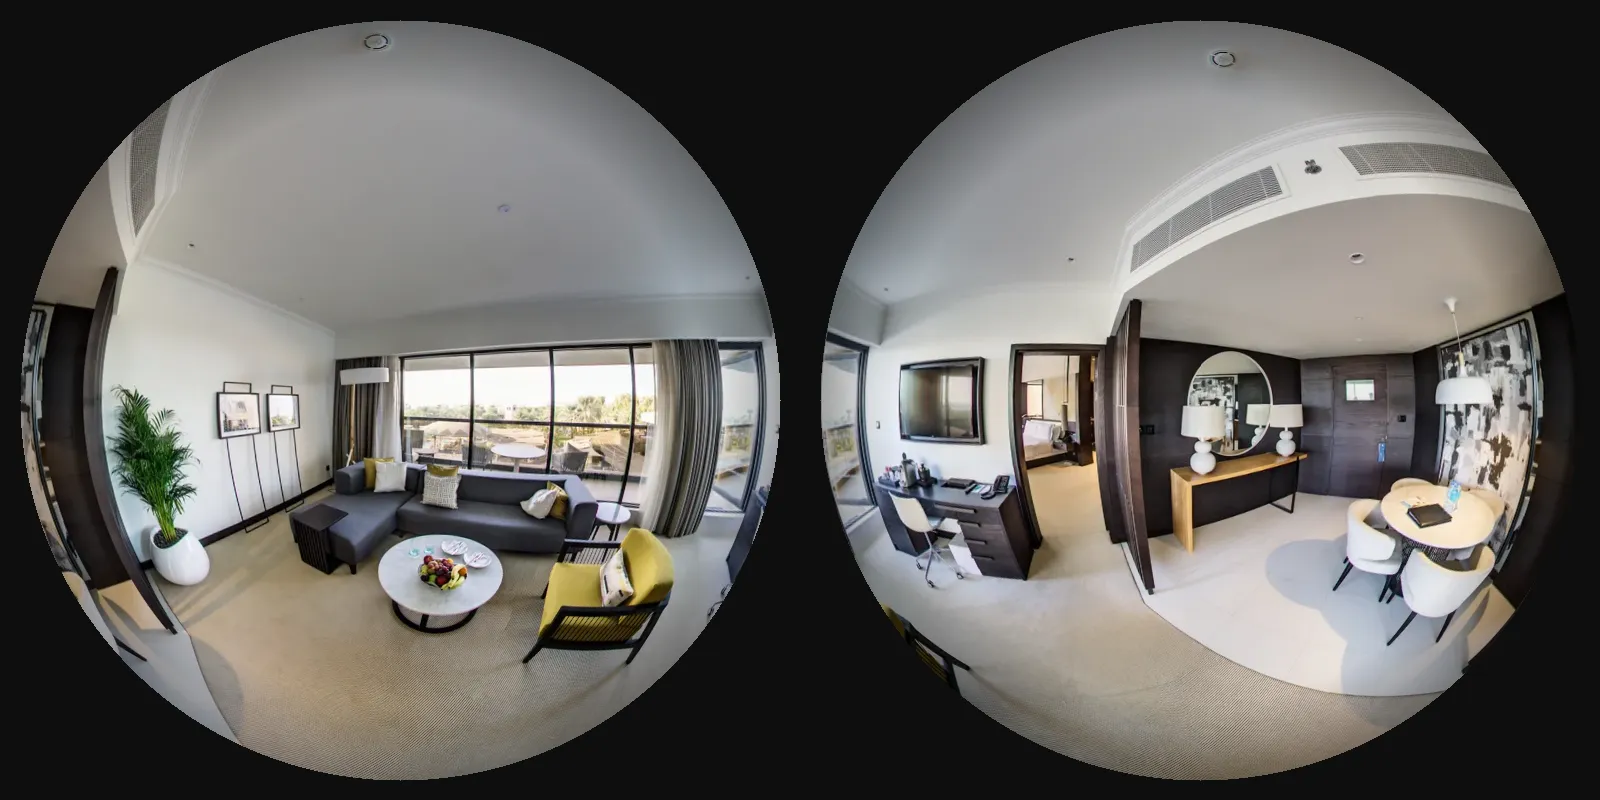
A 360° camera has two fisheye lenses, back to back. One press takes a picture with each, and the camera’s app joins the two into one photo of the whole room: every wall, the ceiling and the floor. That has three consequences for how you shoot:
- There is no “behind the camera”, so you have to be somewhere the camera cannot see.
- Where the two pictures meet (the stitch line), anything very close to the camera can look broken.
- The camera sees straight down, so the tripod is in every photo (how to hide it).
Choose where to stand
Take one photo for each place a visitor should be able to stand: the entrance, the middle of each room, and the ways between rooms, such as a hall, a corridor or the stairs. From each spot, the next one should be in sight, so a link from one to the other feels like a step. In a large room, two spots are better than one in a corner.
Set up the camera
- Near the middle of the room. From the middle, every wall is a similar distance away and nothing looms.
- At about eye height. Around 1.5 metres feels natural, like standing in the room. Use the same height in every room so walking through the tour feels even.
- Level. A tilted camera gives a tilted horizon. Most 360° cameras level the photo for you; if one still comes out tilted, straighten it in the camera’s app and export it again (fix a tilted horizon).
- At least a metre from furniture and walls, so nothing sits on the stitch line close to the lens.
Get the room ready
Turn every light on, open the blinds and the doors between rooms, and tidy away what you would not want a visitor to see: chargers, bins, paperwork, the remote on the bed. Look all the way round before each shot, because the camera will. Close the toilet lid.
Take the shot
- Use the photo mode, not video: a photo is much sharper.
- Use HDR in rooms with bright windows. It takes several exposures and merges them, so you keep both the view outside and the detail in the room.
- Step out of sight. Press the shutter from the camera’s app on your phone, from the next room or behind a door, or use the timer.
- Keep people out of the shot: wait for anyone passing to leave the room.
Export the photos
Copy the photos off the camera and open them in the maker’s own app or desktop program, which joins the two lenses’ pictures. Export each one as a 360° (equirectangular) JPEG at the largest size it offers. Check that each file is exactly twice as wide as it is tall: that is the shape a tour maker needs. Panoramr takes JPEG and TIFF files of that shape, or six cube faces (photo requirements).
Questions
What height should a 360° camera be for a virtual tour?
About eye height, around 1.5 metres, so the tour feels like standing in the room. Keep the same height in every room.
Do I need a tripod for 360° photos?
Yes. A tripod or a light stand keeps the camera still, level and at the same height in every room, and lets you step out of the shot.
Should I use HDR for interior 360° photos?
In rooms with bright windows, yes: HDR merges several exposures, so the view outside and the room inside both keep their detail.
Can I replace one photo later?
Yes. In Panoramr, replace a room’s photo after a refit and its hotspots and links stay where they were.