How to hide the tripod in 360° photos
Why the tripod shows in a 360° photo, and four ways to hide it: a slim stand, a patch with your logo, retouching, and limiting how far visitors look down.
By Ben Kenyon, Founder of PanoramrUpdated 3 min read
In short
A 360° camera sees straight down, so the tripod shows in every photo at the point called the nadir. To hide it, use a slim stand and keep its legs tight, cover the spot with a round patch (in Panoramr a hosted tour can show your own logo there), paint the tripod out in photo software, or stop visitors tilting all the way down. Most tours combine a slim stand with a patch.
Why the tripod shows
A 360° camera photographs everything around it, straight down included. The point directly below the camera is called the nadir, and that is where the tripod stands. Whatever holds the camera, it is in the picture.
There are four ways to deal with it, and most tours use two of them together.
1. Use a slim stand
The less there is under the camera, the less there is to hide. A slim light stand or a monopod with small feet shows as a thin shape, where a chunky photo tripod shows as a dark star. Keep the legs as close together as is safe, and put the camera on top of the stand, not on an arm off to one side.
2. Cover it with a patch
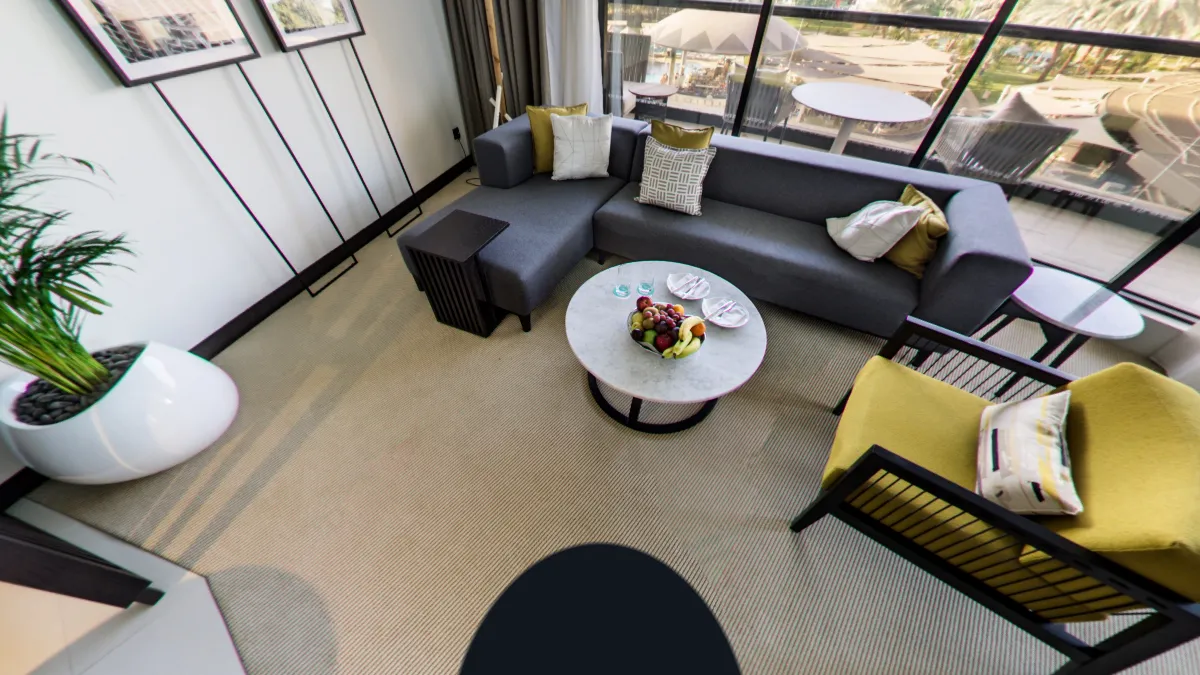
The simplest fix: a round patch over the spot straight down. Visitors rarely look there, and a neat circle reads as part of the design.
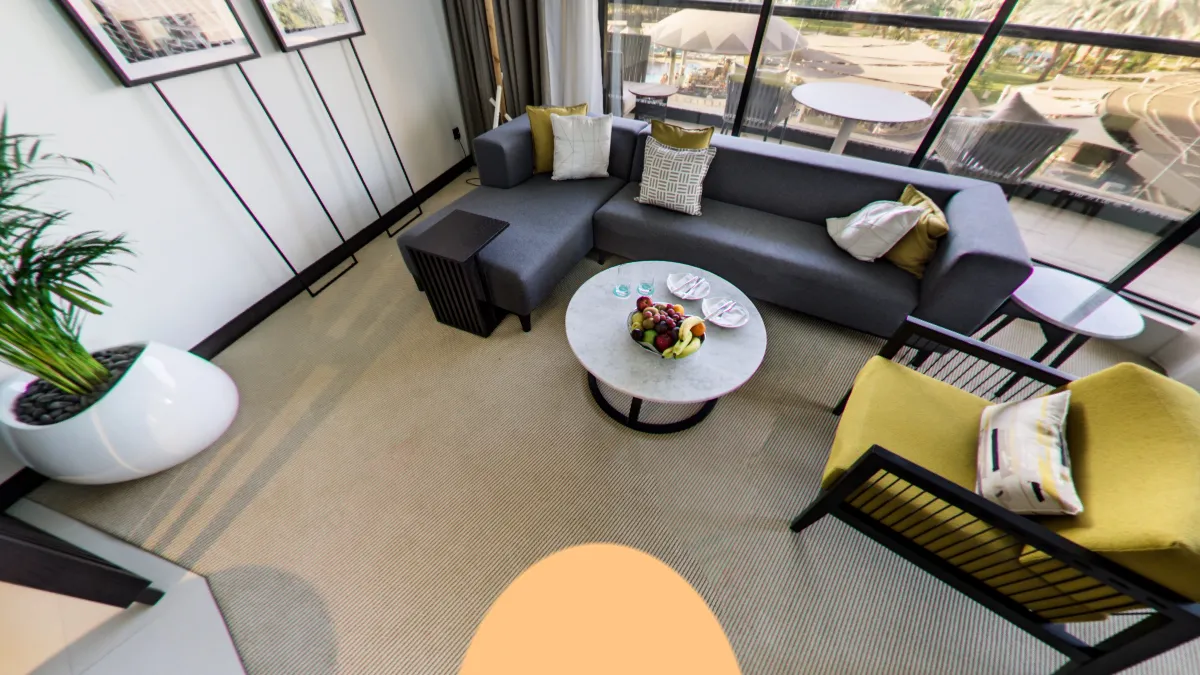
In Panoramr, every scene of a tour that is not hosted shows Panoramr’s badge there. A hosted tour shows no badge, and can carry your own logo and words on the patch instead, set once for the whole tour (add your own branding).
3. Paint it out
Photo software can paint the tripod out, filling the spot with the floor around it. Some 360° cameras’ own apps can hide a stick or tripod for you. This gives the cleanest result, but it takes time for each photo, and a patterned carpet is harder to fill convincingly than a plain floor.
Panoramr has no retouching tool, so retouch the photo first, then replace the scene’s photo: its hotspots and links stay where they were.
4. Limit how far visitors look down
You can stop visitors tilting all the way to the floor. In Panoramr, set the downward limit on the Design tab (restrict the viewing angles). It hides the floor under the camera, but visitors then cannot look at the floor near it either, so it suits rooms where the floor matters little.
Which to choose
For most tours, a slim stand and a patch with your logo are enough: quick, consistent, and the patch becomes a small piece of branding. Paint the tripod out in the photos that matter most, such as a hero room or a reception, where a visitor might look down.
Questions
What is the nadir in a 360° photo?
The point straight below the camera. In a 360° photo it shows the tripod or the photographer’s feet, so it is usually covered by a patch or retouched away.
Can I put my logo over the tripod?
Yes. In Panoramr a hosted tour can show your own logo and words on the round patch that covers the tripod, in every scene.
Does Panoramr remove the tripod for me?
No. Panoramr covers it with a patch; to remove it from the photo itself, retouch the photo in your own software and replace the scene’s photo.