How to make a virtual tour with a RICOH THETA camera
Make a virtual tour with a RICOH THETA X, Z1, A1 or SC2: the settings to shoot with, how to get the 360° JPEGs off the camera, and how to build the tour.
By Ben Kenyon, Founder of PanoramrUpdated 4 min read
In short
To make a virtual tour with a RICOH THETA, put it on a tripod in each place a visitor would stand and take a 360° photo, using HDR rendering where windows are bright and Time Shift, the self-timer or the RICOH360 app to keep yourself out of the shot. A THETA saves each photo already stitched as a 2:1 equirectangular JPEG, so there is nothing to export: copy the JPEGs to a computer or phone and upload them to a tour maker such as Panoramr to link the rooms and publish the tour.
Which THETA cameras work
Every RICOH THETA saves 360° photos that work in a virtual tour. Ricoh's own site sells the THETA X, THETA A1 and THETA Z1 today; the SC2 still works with Ricoh's app.
| Camera | 360° photo | HDR and RAW |
|---|---|---|
| RICOH THETA X | 11,008 × 5,504 pixels (about 60 MP) | HDR rendering, handheld HDR and bracketing; DNG through a plug-in |
| RICOH THETA Z1 | 6,720 × 3,360 pixels (about 23 MP) | HDR rendering, handheld HDR and bracketing; RAW (DNG) beside the JPEG |
| RICOH THETA A1 | 11,008 × 5,504 pixels (about 60 MP) | HDR rendering and handheld HDR |
| RICOH THETA SC2 | 5,376 × 2,688 pixels (about 14 MP) | HDR rendering |
The sizes are from Ricoh's THETA specifications and the A1 manual. Every one of them is twice as wide as it is tall, and all of them fit in a Panoramr tour, which takes 360° photos up to 16,384 pixels wide, and up to 23,000 from a computer with 8 GB of memory or more.
Set up the camera
- Put it on a tripod or a stand. Ricoh advises against standing a THETA on a table by itself: it is tall and narrow, tips over easily and can scratch its lenses (Ricoh's advice on stands and tripods).
- Keep the stand straight, not tilted or bent, so the horizon is level in every room.
- Put it in the middle of the room, at the same height in every room. Ricoh's own tour advice is about halfway between the floor and the ceiling: 120 to 130 cm under a 250 cm ceiling. Some photographers prefer eye height; either works if you keep to it.
Take the photos
- Use HDR rendering where a bright window and a dark room meet in one shot. The camera takes several exposures and joins them, so it must stay still on its stand.
- Turn on the lights and open the blinds, then look round and under the stand for anything you do not want in the picture.
- Keep yourself out of the shot. A THETA sees all the way round, so step out of sight before it fires:
- Time Shift, on the X and A1, fires one lens and then the other, so you can stand behind the camera for the first half and move round for the second.
- The self-timer gives you up to 10 seconds to hide.
- The RICOH360 app on your phone, or a Bluetooth remote, fires the camera from another room.
- Take one photo for each place a visitor would stand: the entrance, each room, and the halls and stairs between them. How to take 360° photos for a virtual tour has more on where to stand.
Copy the photos off the camera
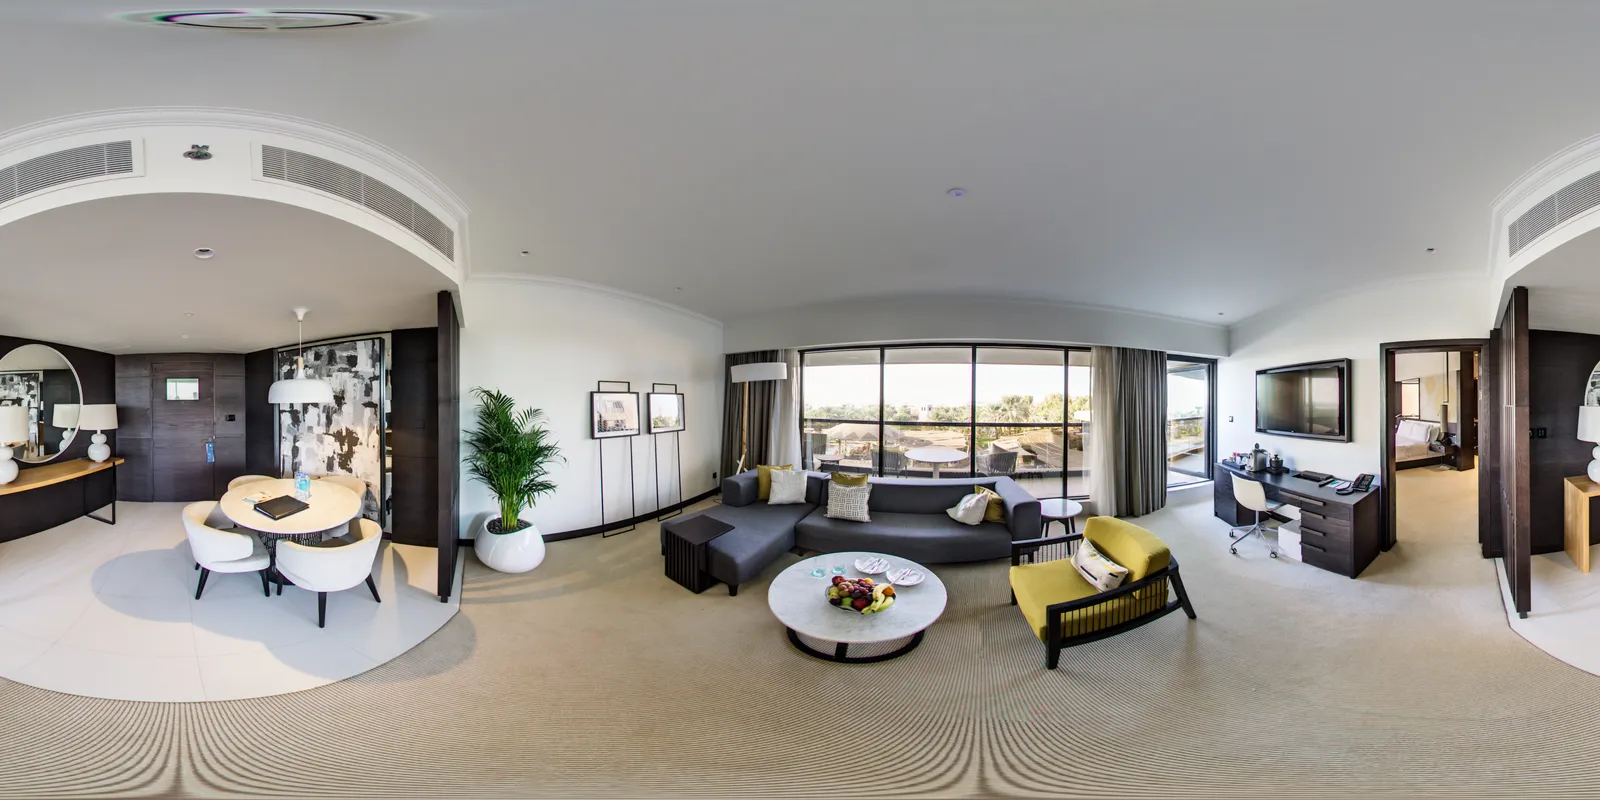
A THETA joins the pictures from its two lenses in the camera, so each JPEG it saves is already a finished 360° photo, twice as wide as it is tall. Unlike some 360° cameras, it needs no export step:
- To a computer: connect the camera by USB. On Windows, choose Open Device to View Files; on a Mac, use Photos or Image Capture. Copy the JPEGs.
- To a phone: in the RICOH360 app, open Photo/Video, choose THETA, connect to the camera over Wi-Fi, select the photos and choose Save Photo and Video (Ricoh's manual). Ricoh's older THETA app stopped being developed in December 2024; RICOH360 is the app to use.
RAW files are different. A Z1's DNG, or an X's DNG from its HDR-DNG plug-in, is not joined in the camera: develop it, then join it in Ricoh's THETA Stitcher before it can go into a tour. If you do not need RAW, use the JPEG.
To check a file before you build the tour, drop it into Panoramr's free 360° photo checker.
Build the tour
- Create a free Panoramr account and click Create Tour.
- Choose your THETA JPEGs. A free account holds 250 panoramas.
- Link the rooms with hotspots, so a visitor can walk from one to the next, and add notes, a floor plan and a design.
- Publish the tour, and share its link or embed it on your website.
How to create a 360° virtual tour, step by step goes through each of these in more detail.
Questions
Which RICOH THETA is best for a virtual tour?
Ricoh sells the THETA X, THETA A1 and THETA Z1 today. The X and the A1 take the larger photo, about 60 MP; the X has a touch screen, the A1 a small status panel. The Z1 takes about 23 MP and saves RAW beside the JPEG. Any of them works in a Panoramr tour, and nine 360° cameras compared sets them beside the others.
Do I need to stitch RICOH THETA photos?
Not the JPEGs: a THETA saves each one already joined, as a 2:1 equirectangular photo. Only RAW (DNG) files need joining, in Ricoh's THETA Stitcher.
Should I use HDR on a THETA indoors?
Yes, when a room has bright windows. HDR rendering joins several exposures into one photo, so keep the camera still on a stand while it shoots.
Do I need RICOH360 Tours to make a tour with a THETA?
No. RICOH360 Tours is Ricoh's own tour service, a 14-day trial and then from $39 a month, billed yearly (Ricoh's pricing). A THETA's JPEGs go into any tour maker, Panoramr included: Panoramr vs RICOH360 Tours compares the two.